Claim Administrators Administration
The register contains employees of contractual health facilities responsible for preparation and/or submission of claims. Administration of the register of claim administrators is restricted to users with the system role of Scheme Administrator or with a role including an access to Administration/Claim Administrators.
Pre-conditions
A claim administrator may be added after the agreement of a contractual health facility and the management of the scheme administration. Entry of a claim administrator in the register of claim administrators doesn’t mean that the claim administrator can login to IMIS. He/she has to be entered also in the register of users. It is facilitated by the ability to create the entry of a claim administrator into the register of claim administrators and the register of users simultaneously.
Navigation
All functionality for use with the administration of claim administrators can be found under the main menu
Administration, submenuClaim Administrators.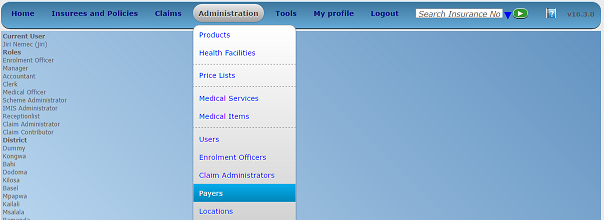
Image 67 - Navigation Claim Administrators
Clicking on the sub menu
Claim Administratorsre-directs the current user to the Claim Administrators Control Page.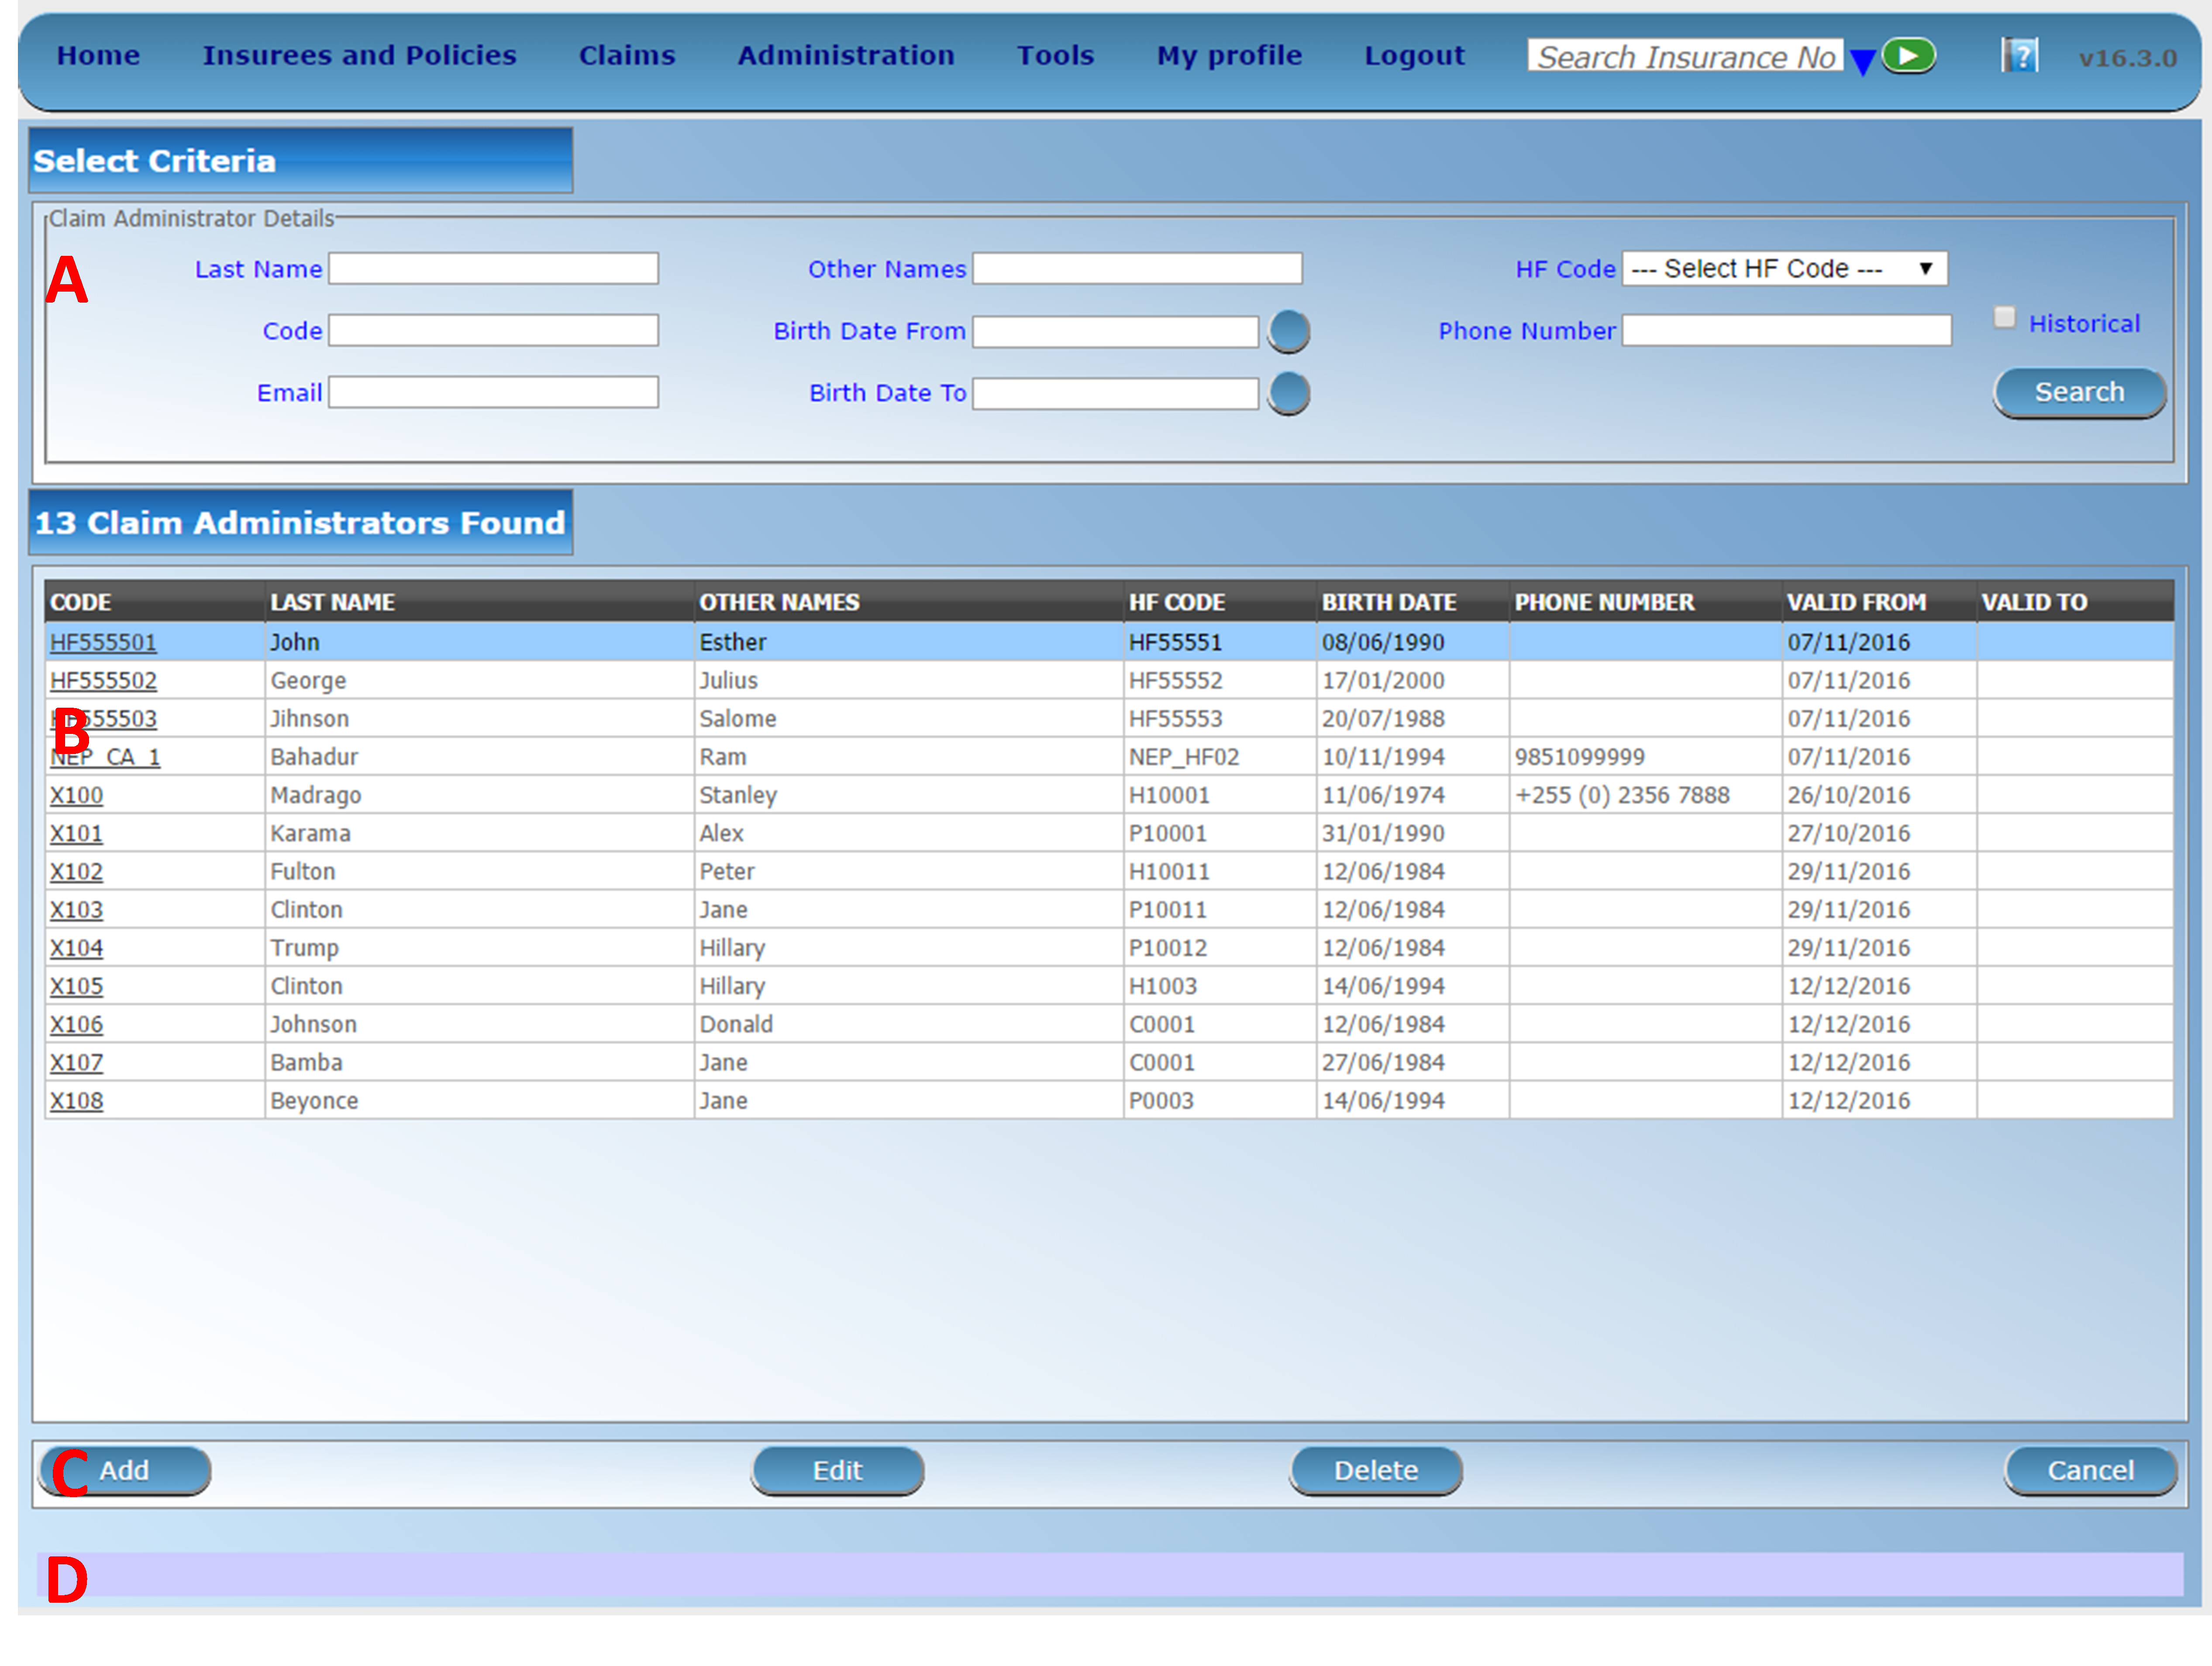
Image 68 - Claim Administrators Control Page
Claim Administrators Control Page
TheClaim Administrators Control Pageis the central point for the administration of all claim administrators. By having access to this panel, it is possible to add, edit, delete and search claim administrators. The panel is divided into four panels (Image 68).
Search Panel
The search panel allows a user to select specific criteria to minimise the search results. In the case of claim administrators the following search options are available which can be used alone or in combination with each other.
Last NameType in the beginning of; or the full
Last name; to search for claim administrator with aLast name, which starts with or matches completely, the typed text.
CodeType in the beginning of; or the full
Codeto search for claim administrator with aCode, which starts with or matches completely, the typed text.
Other NamesType in the beginning of; or the full
Other Namesto search for claim administrator withOther Nameswhich starts with or matches completely, the typed text.
Birth Date FromType in a date; or use the Date Selector Button, to enter the
Birth Date Fromto search for claim administrators having the same or later birth date. Note. To clear the date entry box; use the mouse to highlight the full date and then press the space key.
Birth Date ToType in a date; or use the Date Selector Button, to enter the Birth Date To to search for claim administrators having the same or earlier birth date. Note. To clear the date entry box; use the mouse to highlight the full date and then press the space key.
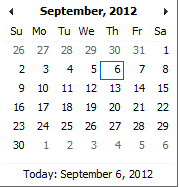
Date Selector ButtonClicking on the
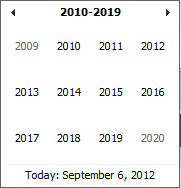
Date Selector Buttonwill pop-up an easy to use, calendar selector (Image 69); by default the calendar will show the current month, or the month of the currently selected date, with the current day highlighted.
- At any time during the use of the pop-up, the user can see the date of today.
- Clicking on today will close the pop-up and display the today’s date in the corresponding date entry box.
- Clicking on any day of the month will close the pop-up and display the date selected in the corresponding date entry box.
- Clicking on the arrow to the left displays the previous month.
- Clicking on the arrow on the right will displays the following month.
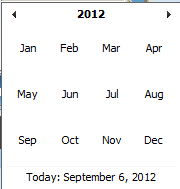
- Clicking on the month will display all the months for the year.
- Clicking on the year will display a year selector.
Image 69 - Calendar Selector - Search Panel
HF CodeSelect
HF Code(a health facility code); from the list of health facility codes by clicking on the arrow on the right of the selector to select claim administrators from a specific health facility. Note: The list will only be filled with the health facilities from districts which are assigned to the current logged in user.
Phone NumberType in the beginning of; or the full
Phone Numberto search for claim administrators with aPhone Number, which starts with or matches completely, the typed number.
Type in the beginning of; or the full
HistoricalClick on
Historicalto see historical records matching the selected criteria. Historical records are displayed in the result with a line through the middle of the text (strikethrough) to clearly define them from current records (Image Insuree Enquiry Results).
Image 70 - Historical records - Result Panel
Search ButtonOnce the criteria have been entered, use the search button to filter the records, the results will appear in the Result Panel.
Result Panel
The Result Panel displays a list of all claim administrators found, matching the selected criteria in the search panel. The currently selected record is highlighted with light blue, while hovering over records changes the highlight to yellow (Image 71). The leftmost record contains a hyperlink which if clicked, re-directs the user to the actual record for detailed viewing if it is a historical record or editing if it is the current record.

Image 71 - Selected record (blue), hovered records (yellow) - Result Panel
A maximum of 15 records are displayed at one time, further records can be viewed by navigating through the pages using the page selector at the bottom of the result Panel (Image 72)

Image 72 - Page selector- Result Panel
Button Panel
With exception of the
Cancelbutton, which re-directs to the Home Page, and theAddbutton which re-directs to the Claim Administrator Page, the button panel (the buttonsEditandDelete) is used in conjunction with the current selected record (highlighted with blue). The user should first select a record by clicking on any position of the record except the leftmost hyperlink, and then click on the button.Information Panel
The Information Panel is used to display messages back to the user. Messages will occur once an officer has been added, updated or deleted or if there was an error at any time during the process of these actions.
Claim Administrator Page
Data Entry
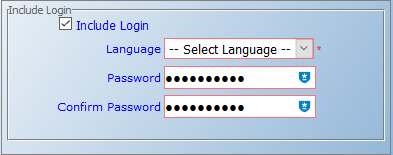
Image 73 - Claim Administrator Page
claim administrator details
CodeEnter the code for the claim administrator. Mandatory, 8 characters maximum.
Last nameEnter the last name (surname) for the claim administrator. Mandatory, 100 characters maximum.
Other NamesEnter other names of the claim administrator. Mandatory, 100 characters maximum.
Date of BirthEnter the date of birth for the claim administrator. Note. To clear the date entry box; use the mouse to highlight the full date and then press the space key.
Phone NumberEnter the phone number for the claim administrator. 50 characters maximum.
Enter the e-mail for the claim administrator. 50 characters maximum.
HF CodeSelect from the list of available health facilities the health facility which the claim administrator will have access to and will act for. Mandatory.
Include LoginEnable the claim administrator to use openIMIS web by creating web credentials (claim administrators primary interface is the claim application running on android device that doesn’t require openIMIS user), the change must be saved to be taken into account.
Image - Claim Administrator Login
Once the login is created, it will be visible in the User Control Page
Saving
Once all mandatory data is entered, clicking on the
Savebutton will save the record. The user will be re-directed back to the Claim Administrators Control Page, with the newly saved record displayed and selected in the result panel. A message confirming that the claim administrator has been saved will appear on the Information Panel.Mandatory data
If mandatory data is not entered at the time the user clicks the
Savebutton, a message will appear in the Information Panel, and the data field will take the focus (by an asterisk on the right side of the corresponding field).Cancel
By clicking on the Cancel button, the user will be re-directed to the Claim Administrators Control Page.
Adding a Claim Administrator
Click on the
Addbutton to re-direct to the Claim Administrator Page.When the page opens all entry fields are empty. See the Claim Administrator Page for information on the data entry and mandatory fields
Editing a Claim Administrator
Click on the
Editbutton to re-direct to the Claim Administrator Page..The page will open with the current information loaded into the data entry fields. See the Claim Administrator Page for information on the data entry and mandatory fields
Deleting a Claim Administrator
Click on the
Deletebutton to delete the currently selected recordBefore deleting a confirmation popup (Image 74) is displayed, which requires the user to confirm if the action should really be carried out.
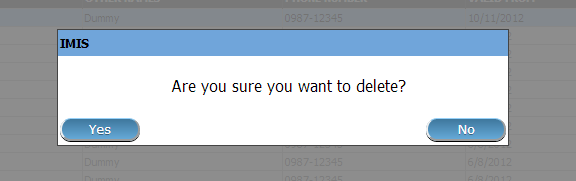
Image 74 - Delete confirmation- Button Panel
When a claim administrator is deleted, all records retaining to the deleted claim administrator will still be available by selecting historical records.